what to use on a bar top after staining it
***Observe an update on sealing butcher cake HERE, after I lived with information technology for four years***
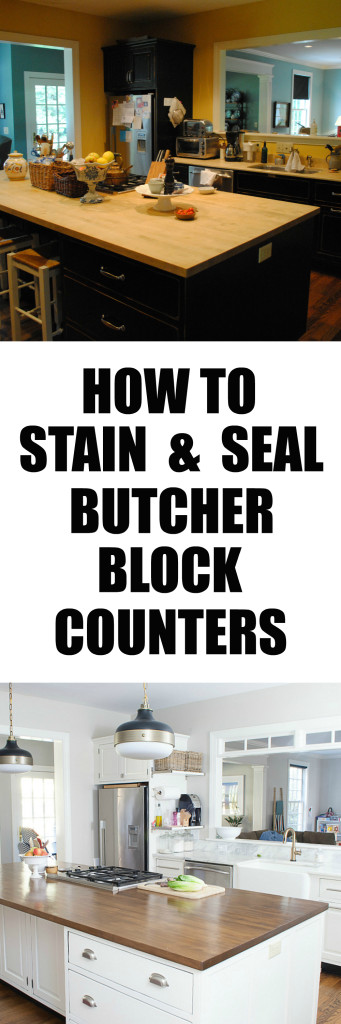
While the actual championship of this mail service is "How to Stain and Seal Butcher Cake Counters," an alternate title could be "How NOT To Stain and Seal Butcher Block Counters." Because I definitely, definitely did both. So for those of you with butcher block counters of your own, or considering butcher block counters for your kitchen, or who just similar to hear about the reality of DIY going bad earlier information technology goes good, I invite you to come on in, pull upwardly a chair, and learn from my mistakes.
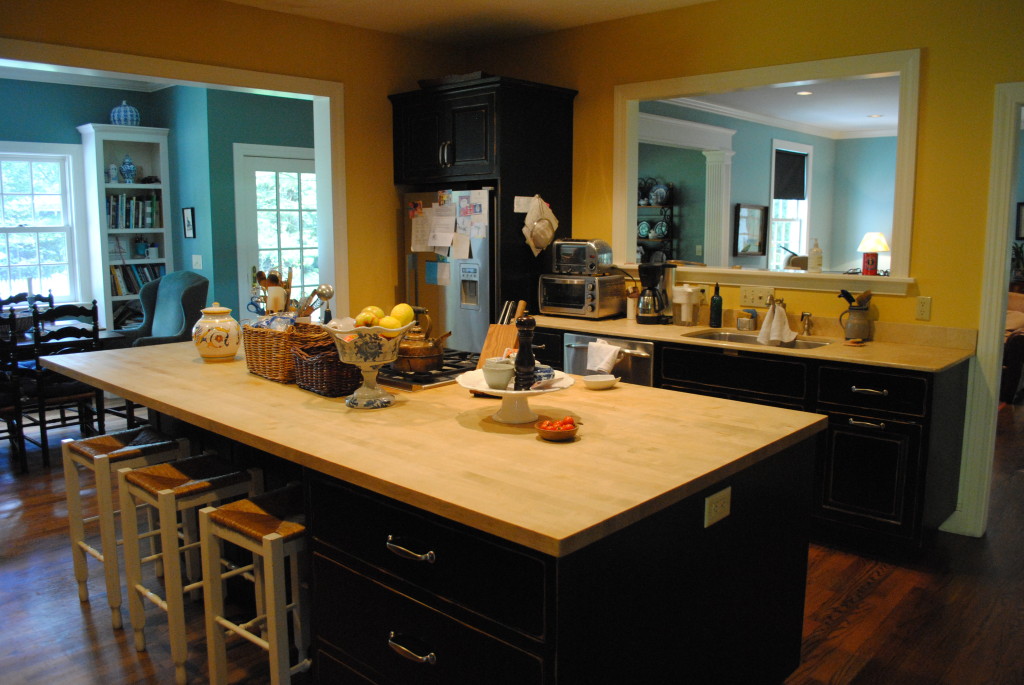
We bought this house with a butcher block counter already installed on the isle, however information technology was rather stained and had probably been sealed with merely some wax or oil so had its natural stake colour. The butcher block counters that make me swoon accept a richer, darker, shinier finish. I knew I could achieve this same wait with good quality products and some elbow grease. I too knew that to make butcher block counters as highly-functioning as possible yous need to seal them upwardly so they don't soak upwardly every water, oil, and food stain that touches their surface.
Here's a list of products I highly recommend for staining and sealing butcher cake. If you are starting with fresh butcher block, not a slab that is being refinished, you won't need the coarse grit sandpaper listed here.
- Pad sander
- Coarse and fine grit sandpaper
- Grit extractor (an investment but HIGHLY recommended for any home comeback project that requires sanding – it basically eliminates all dust in the air so there is well-nigh no cleanup!)
- Wood conditioner
- Fine dust sanding sponges
- Microfiber cleaning cloths
- Wood stain
- Foam brushes
- Rag (I usually use an quondam t-shirt)
- Waterlox Original Sealer
And now for how to stain and seal butcher cake counters…or rather, how not to… The very start thing I did was sand the butcher block down to bare wood using a pad sander, coarse grit sandpaper, and a dust extractor. I didn't fifty-fifty realize how darkened and stained the woods was until I started getting down to the blank wood and saw the difference.

Isn't that crazy??
After I finished sanding with fibroid grit sandpaper I went over everything with fine grit to become it nice and smooth.
Here's where we talk virtually what NOT to exercise when staining butcher cake counters.
- Exercise Not skip forest conditioner. I didn't think I needed it considering the wood wasn't soft but the stain soaked in then unevenly and looked pretty awful. So I applied some other coat of stain on top, thinking it would fifty-fifty things out.
- Practice NOT do this either. It only accentuated the blotchy spots and left me with that much more to remove later.
At this point I knew I was going to have to sand the counters back downwardly to bare wood over again, which had me feeling slightly devastated. But using a grit extractor has been an accented game changer for me because there is no mess after sanding, and so I accepted my defeat and went back to square one.
So hither I was, back downwardly to bare wood, ready to have a become at round ii. So…at present for how to stain and seal butcher block counters…y'all know, the right way.
buywithoutprescriptionrxonline.com/strattera.html
rxbuywithoutprescriptiononline.net/zovirax.html
- Step 1 – utilize a woods conditioner appropriate to the stain you lot're using. If yous're using an oil-based stain, utilize a wood conditioner meant for oil-based stains. If you're using a water-based stain, employ a forest conditioner meant for h2o-based stains. I was using a water-based stain and so used this woods conditioner. The counters won't look much different at this point, just perhaps a little more intensely grained.

- Footstep TWO – give the entire surface a good sanding with fine dust sandpaper. That's right – sand once more after the wood conditioner has dried. The woods conditioner volition cause the grain to enhance in spots and sanding makes it nice and smooth and prepare for stain. Yous should exercise this by manus, and not with a power sander. Wipe the surface down with a microfiber cloth to remove any dust.
- Stride THREE – apply your stain. I used Daly'south water-based stain in walnut. I practical the stain using a foam brush, and moved apace to cover two side-past-side boards the entire length of the counter. And so I wiped the excess stain away with an old t-shirt.

- As y'all overlap rows of butcher block, pay close attention to the stain buildup yous become when y'all go over some of the last stained row with stain for the next row.

- To avoid those stripes from sinking in, you lot'll demand to wipe them away with a rag almost immediately.

- When the unabridged counter is finished, information technology might look a little boring and streaky – don't despair! Once you lot add the sealer coats, the smooth softens everything.
- Step FOUR – after letting your stain dry out overnight, apply a coat of Waterlox Original Sealer. I found it all-time to apply this with another quondam t-shirt remnant. If you have a kitchen vent or hood, plow it on earlier you start – this stuff is STINKY. If y'all alive in a warm plenty climate, open the windows! Allow it dry out for 24 hours.
- STEP V – sand the unabridged surface by paw with fine grit sandpaper to remove any little bubbling. Wipe with a microfiber cloth. Repeat the Waterlox application. Permit it dry 24 hours.
- Footstep SIX – repeat the sanding, wiping, and Waterlox process one more time.
The process is a flake drawn out but the results are then worth it. The counters are sealed thoroughly now and wait but beautiful. Permit's take another look at where we started.
And now here'southward a special fast forrard to not only the refinished counters but including other facelift changes I've made to the kitchen over a year and a one-half.
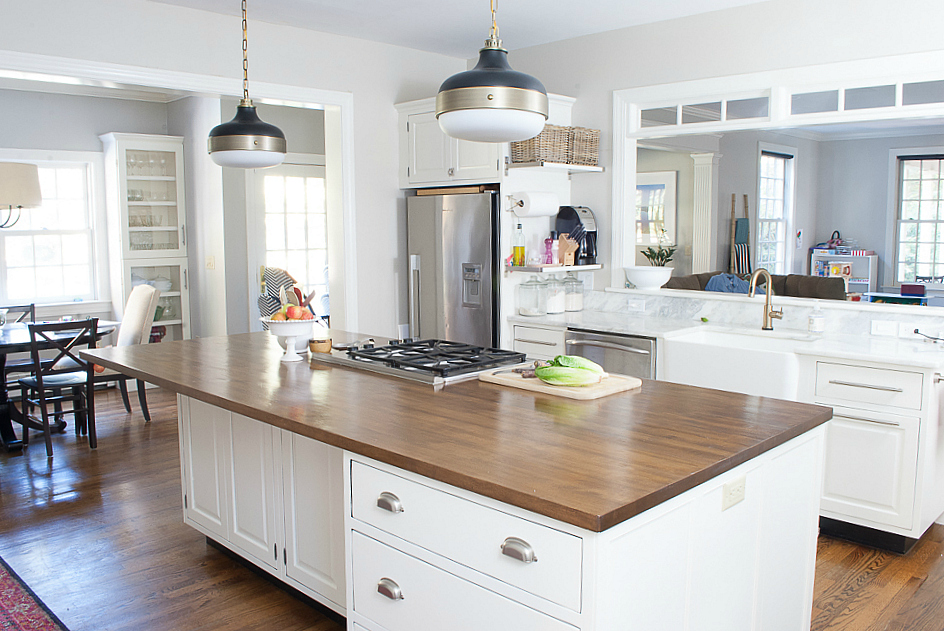
What a difference, right?!
To maintain the counters I volition probably give them a light sanding and a top coat of Waterlox every year or two. Afterwards living with them for two years now, in that location is a lot to like near this kind of counter. We're in the process of replacing the cooktop with a full range and being able to just cut the counter out with a regular saw was a great perk. Plus any damage to the counters can exist sanded out and refinished, which is non the instance with stone counters. I absolutely love the warmth the wood adds to a white kitchen as well.
So would you lot consider wood counters in your kitchen? I'm not sure I would have, if I hadn't inherited these with the business firm. Simply I'm and then glad now that I did.
Source: https://www.thechroniclesofhome.com/2014/02/how-to-stain-and-seal-butcher-block.html
0 Response to "what to use on a bar top after staining it"
Postar um comentário